Organising your notes
Setting up a folder
How to create a folder, add notes, and customise it.
Folders let you categorise your meetings, share them with your team, and Ask Granola for insights about a set of meetings.
 You can remove a note from a folder by undoing any of these actions.
Things to note:
You can remove a note from a folder by undoing any of these actions.
Things to note:
Creating a folder
To get started, you’ll want to create a folder. You’ll need to decide if you want it to be a public or private folder depending on if you want others to be able to access that folder.1
Click + and choose public or private
Start by clicking the plus symbol on the sidebar in Granola. You’ll need to choose some basic sharing permissions (but you’re able to edit these later):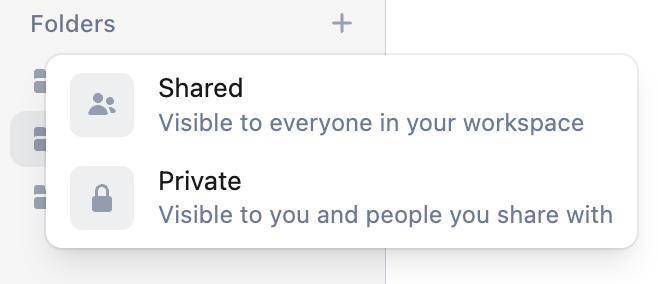
- Shared folders are visible to everyone in your team when they ‘Browse folders’, and anyone can choose to join your folder.
- Private folders are only visible to you and people you explicitly share the folder with.
2
Give your folder a title and description
The title and description helps others at your org know what the folder is for. It also helps Granola know the context, if you use Ask Granola later on.Note: if you create a Private folder, you’ll only be asked for a Title.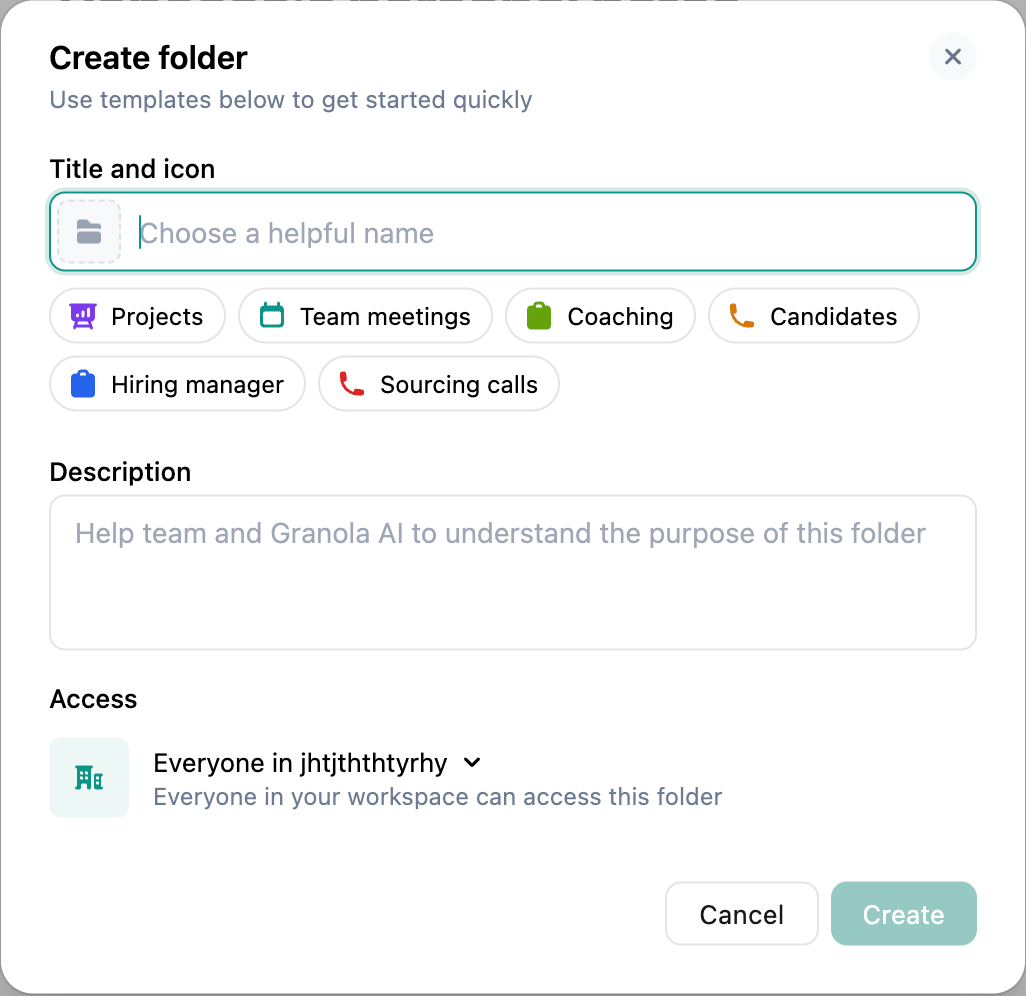
3
Set up auto-posting
This setting will allow autoposting of any notes added to a folder into a slack channel. At the moment, you can only post to slack, but other integrations are on their way.For private folders, you can set this in Settings later on.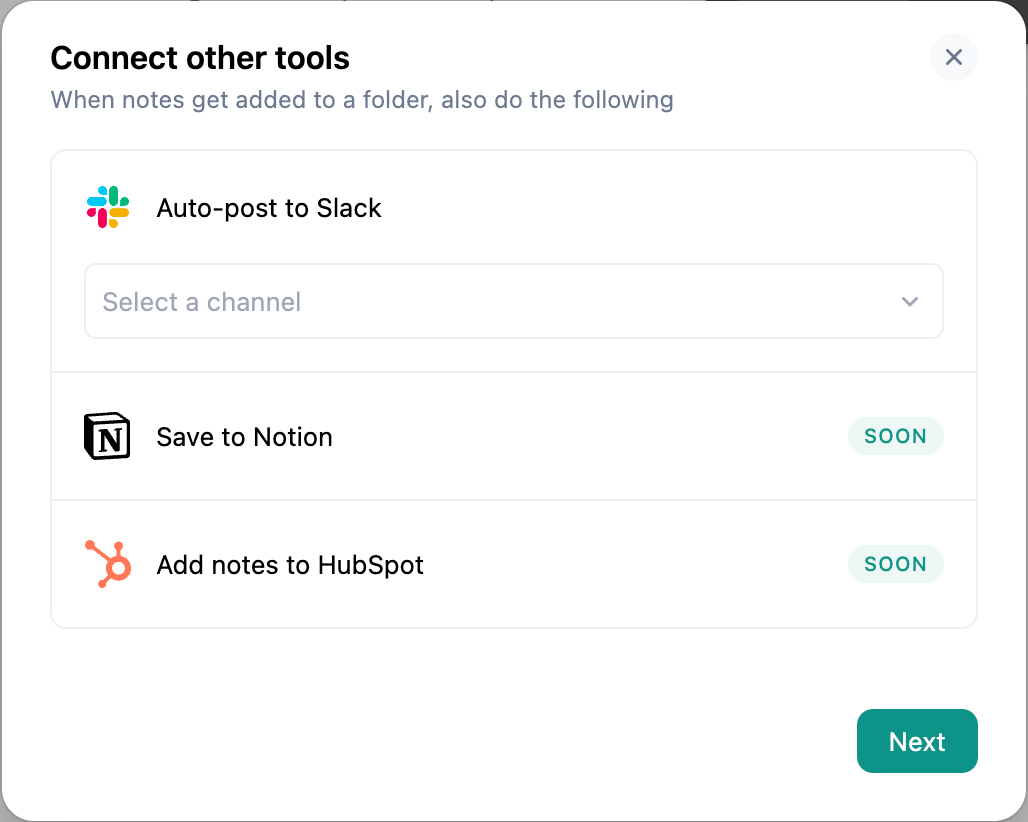
4
Add people to join
Invite others to your folder. This could be others in your workspace, or external accounts. This will send them a link to join your folder, and add it to their Granola sidebar.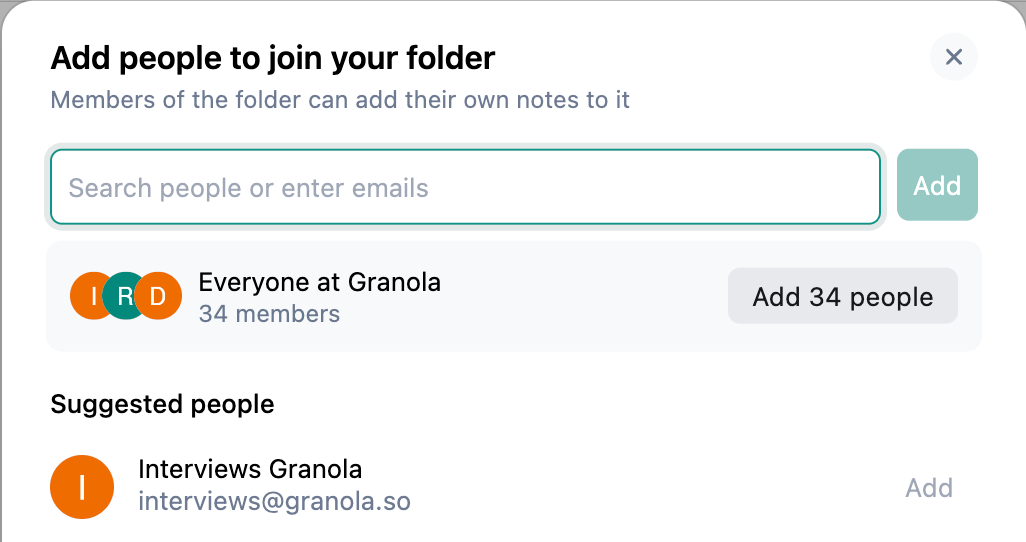
Adding notes to a folder
After creating a folder, you can add notes to a folder in a few ways:- Hovering over the note in the main Granola window and clicking ‘Add to folder’
- Dragging and dropping the note into the folder
- From within a note, clicking ‘Add to folder’ under the title
- [coming soon!] Adding a recurring series of events, by adding one event and selecting ‘This and all future instances’
You can remove a note from a folder by undoing any of these actions.
Things to note:
- You can add a note to multiple folders
- Adding a note to a folder will make that note visible to other members of the folder. Learn more about Folder sharing settings here.
What else can I do?
- You can ✨ Ask Granola about your folder
- You can add a folder to Favourites by clicking ⭐ in the top right. This will bring it to the top of your list.